
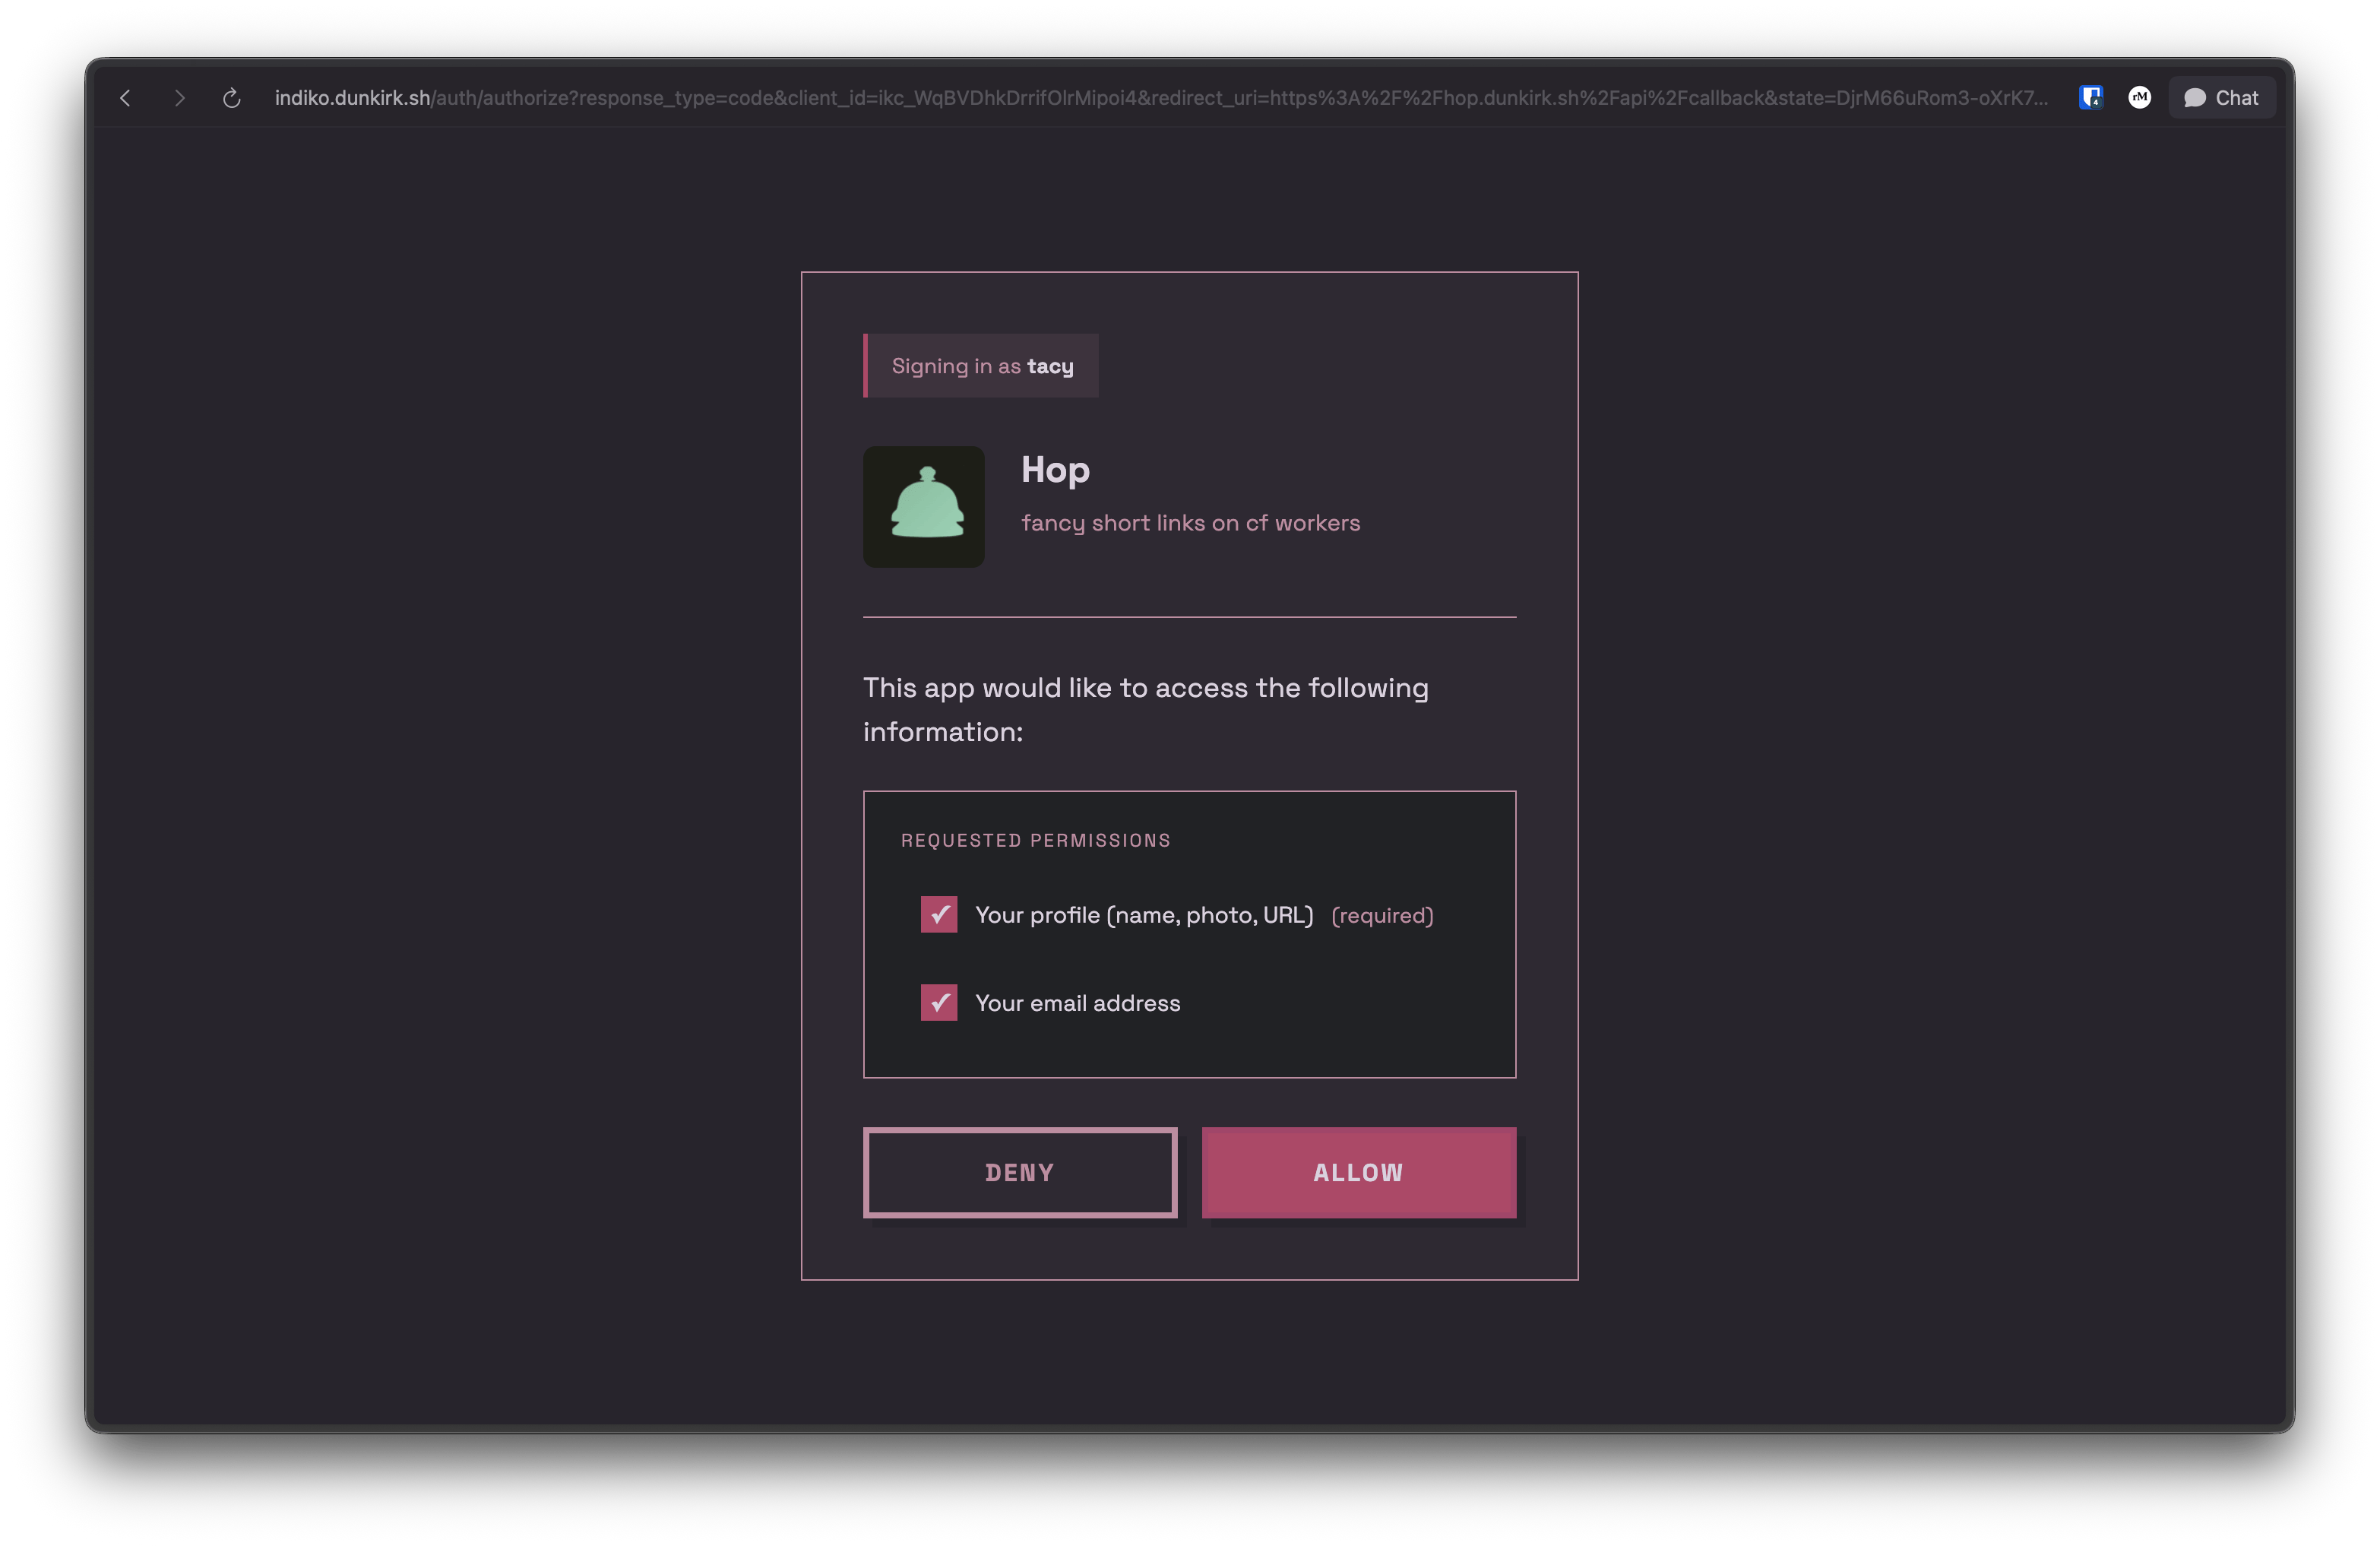
No that was not a typo the project's name actually is indiko! This is a small implementation of IndieAuth running on bun with sqlite and serving as the authentication provider for my homelab / side projects it also supports custom clients with roles over the OAuth 2.0 spec.
The canonical repo for this is hosted on tangled over at dunkirk.sh/indiko
- Bun v1.0 or higher
- A domain with HTTPS (required for WebAuthn)
- Clone the repository:
git clone https://github.com/taciturnaxolotl/indiko.git
cd indiko- Install dependencies:
bun install- Create a
.envfile:
cp .env.example .envConfigure the following environment variables:
ORIGIN=https://your-indiko-domain.com
RP_ID=your-indiko-domain.com
PORT=3000
NODE_ENV=productionORIGIN- Full URL where Indiko is hosted (must match RP_ID)RP_ID- Domain for WebAuthn (no protocol, matches ORIGIN domain)PORT- Port to run the server onNODE_ENV- Environment (dev/production)
The database will be automatically created at ./indiko.db on first run.
- Start the server:
# Development (with hot reload)
bun run dev
# Production
bun run starttOn first run, you'll need to create an admin user:
- Visit
https://your-indiko-domain.com/login - Register with a passkey
- This first user will automatically be an admin
After the first user is created, the bootstrap invite is disabled. Subsequent users must be invited by an admin.
Indiko supports two types of OAuth clients:
Any app can use Indiko without admin approval. On first authorization:
- Use any valid URL as your
client_id(e.g.,https://myapp.example.com) - Indiko fetches metadata from your
client_idURL - App is automatically registered
- MUST use PKCE (code_verifier) for security
- No client secret (public client)
- Cannot use role-based access control
This is perfect for IndieAuth-compatible apps and personal projects.
For apps requiring client secrets or role-based access control, admins can pre-register clients:
-
Go to
/admin/clients -
Click "Create OAuth Client"
-
Fill in:
- Name - Display name for your app
- Logo URL - (Optional) URL to app logo
- Description - (Optional) Brief description
- Redirect URIs - One or more OAuth callback URLs
- Available Roles - (Optional) Define roles users can be assigned
- Default Role - (Optional) Auto-assign this role on first auth
-
Save and copy the generated credentials:
- Client ID - Format:
ikc_xxxxxxxxxxxxxxxxxxxxx - Client Secret - Format:
iks_xxxxxxxxxxxxxxxxxxxxxxxxxxxxxxxxxxxxxxxxxxx
[!IMPORTANT] The client secret is only shown once! Save it securely..
- Client ID - Format:
Pre-registered clients:
- MUST use both PKCE and client_secret in token requests
- Support role assignment for RBAC (Role-Based Access Control)
- Admin-managed metadata and permissions
- Generated client ID format:
ikc_prefix
Add these tags to your website's ad>:
link
rel="authorization_endpoint"
href="https://your-indiko-domain.com/auth/authorize"
/>gt;
link rel="token_endpoint" href="https://your-indiko-domain.com/auth/token" />gt;
link rel="me" href="https://your-indiko-domain.com/u/your-username" />gt; Now you can sign in to IndieAuth-compatible sites using https://your-domain.com/ as your identity.
Indiko also supports OpenID Connect (OIDC) for modern authentication flows:
Discovery endpoint:
https://your-indiko-domain.com/.well-known/openid-configuration
Key features:
- Authorization Code Flow with PKCE
- ID Token with RS256 signing
- JWKS endpoint for token verification
- Support for
openid,profile, andemailscopes - Userinfo endpoint for retrieving user claims
Test your OIDC setup using the OIDC Debugger.
GET /auth/authorize- Authorization endpoint (OAuth 2.0 / OIDC)POST /auth/token- Token exchange endpoint (returns access token and ID token for OIDC)GET /userinfo- OIDC userinfo endpoint (returns user claims)GET /.well-known/openid-configuration- OIDC discovery documentGET /jwks- JSON Web Key Set for ID token verificationPOST /auth/logout- Session logout
GET /u/:username- Public h-card profile
GET /api/admin/users- List all usersPOST /api/admin/invites- Create inviteGET /api/admin/invites- List invitesGET /api/admin/clients- List OAuth clientsPOST /api/admin/clients- Create OAuth clientGET /api/admin/clients/:clientId- Get client detailsPUT /api/admin/clients/:clientId- Update clientDELETE /api/admin/clients/:clientId- Delete client
Indiko should be deployed behind a reverse proxy (nginx, Caddy, Traefik) for production use. The proxy should add security headers.
server {
listen 443 ssl http2;
server_name auth.example.com;
ssl_certificate /path/to/cert.pem;
ssl_certificate_key /path/to/key.pem;
# Security headers
add_header X-Frame-Options "DENY" always;
add_header X-Content-Type-Options "nosniff" always;
add_header X-XSS-Protection "1; mode=block" always;
add_header Referrer-Policy "strict-origin-when-cross-origin" always;
add_header Permissions-Policy "geolocation=(), microphone=(), camera=()" always;
add_header Strict-Transport-Security "max-age=31536000; includeSubDomains; preload" always;
# Content Security Policy
add_header Content-Security-Policy "default-src 'self'; style-src 'self' 'unsafe-inline' https://fonts.googleapis.com; font-src 'self' https://fonts.gstatic.com; img-src 'self' data: https:; script-src 'self'; connect-src 'self'; frame-ancestors 'none'; base-uri 'self'; form-action 'self';" always;
location / {
proxy_pass http://localhost:3000;
proxy_set_header Host $host;
proxy_set_header X-Real-IP $remote_addr;
proxy_set_header X-Forwarded-For $proxy_add_x_forwarded_for;
proxy_set_header X-Forwarded-Proto $scheme;
}
}auth.example.com {
reverse_proxy localhost:3000
header {
X-Frame-Options "DENY"
X-Content-Type-Options "nosniff"
X-XSS-Protection "1; mode=block"
Referrer-Policy "strict-origin-when-cross-origin"
Permissions-Policy "geolocation=(), microphone=(), camera=()"
Strict-Transport-Security "max-age=31536000; includeSubDomains; preload"
Content-Security-Policy "default-src 'self'; style-src 'self' 'unsafe-inline' https://fonts.googleapis.com; font-src 'self' https://fonts.gstatic.com; img-src 'self' data: https:; script-src 'self'; connect-src 'self'; frame-ancestors 'none'; base-uri 'self'; form-action 'self';"
}
}
}- X-Frame-Options: Prevents clickjacking attacks
- X-Content-Type-Options: Prevents MIME-sniffing
- X-XSS-Protection: Enables browser XSS filter
- Referrer-Policy: Controls referrer information
- Permissions-Policy: Restricts browser features
- Strict-Transport-Security: Enforces HTTPS
- Content-Security-Policy: Prevents XSS and data injection attacks
Note
The CSP allows Google Fonts and user-provided profile images (img-src https:). Adjust based on your security requirements.
# Run with hot reload
bun run dev
# Format code
bun run format
# Type check (handled by Bun)
bun run src/index.tss

© 2025-present Kieran Klukas


